
Welcome to this article. Today we’re going to talk about a problem that most of us face at some point—getting a “passport-size photo.”
Have you ever wondered why, whenever there’s an important task, like getting a passport, submitting documents to court, applying for a job, or filling out an exam form, the biggest headache is the passport-size photo? Whether it’s reducing the photo size, whitening the background, or printing it—these processes can be quite frustrating.
But no worries! This article is a complete guide for you. In it, we’ll learn how to easily convert any photo to passport-size, right from home, without any expensive software, using your smartphone or computer. We’ll cover all aspects of how to convert a photo to passport size, how to convert a photo to passport size, and how to convert a photo to passport size. We’ll also learn about a very useful and free website, picsizereducer.com, that makes this task even easier.
So, let’s get started and learn this useful skill.
What is a Passport Size Photo?
First, it’s important to understand the specifications of a standard passport-size photo. In India, most official applications require the following sizes and specifications:
- Size: 2 x 2 inches (51 x 51 mm) or 35 x 45 mm. Sometimes, 2 x 2 inches is the preferred size.
- Resolution: 300 DPI (Dots Per Inch) is required for good quality.
- Background: It must be plain and white.
- Face: The face must be straight and fully visible. Eyes should be open and glasses should not be worn (if you always wear them, you may be exempt in some cases).
The problem is that most of the photos we have are either selfies or other photos that don’t meet these criteria. That’s why it’s important to learn how to convert a picture to passport size.
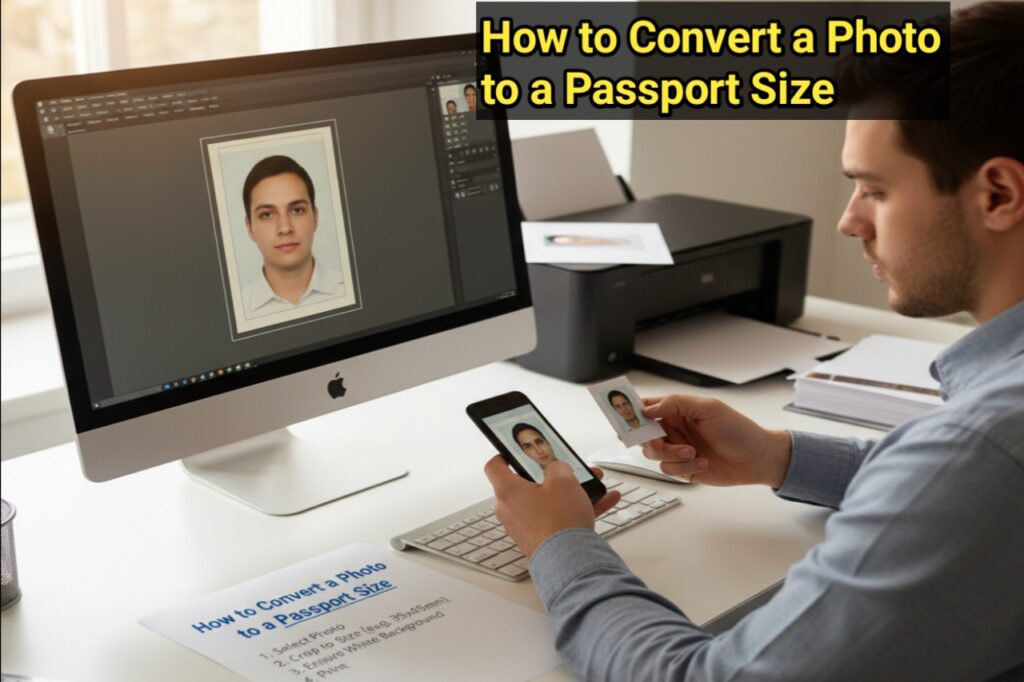
Easy ways to convert a photo to passport size
Now we’ll discuss practical methods that can help you easily answer the question of how to convert an image to passport size.
1. Using online websites (the easiest way)
This method is a boon for those who don’t have access to complex software like Photoshop. There are many websites online that do this for free. One of the best is picsizereducer.com.
How to use picsizereducer.com?
This website is specifically designed to compress and adjust photo sizes. Using its free tools can make your work much easier.
- Step 1: Open the picsizereducer.com website in your computer or mobile browser.
- Step 2: You’ll see an ‘Upload’ button on the website. Click on it and select the photo you want to convert.
- Step 3: Once the photo is uploaded, you’ll be presented with several options. You can select the size (e.g., 2×2 inches). You may also want to change the background to white. Many online tools have this feature.
- Step 4: Once you’ve made all the settings, click the ‘Download’ or ‘Save’ button. That’s it! Your photo will be converted to passport size and saved on your device.
This way, using a free website like picsizereducer.com, you can complete the entire process of converting a photo to passport size in seconds.
2. Using Smartphone Apps
If you prefer to work on your mobile device, there are hundreds of apps like ‘Passport Photo Maker’ or ‘Photo Resizer’ available on the Google Play Store or App Store. These apps come with built-in passport-size templates. You simply select your photo, select the size, adjust the background, and save the photo. This method is also very easy to learn.
3. Using Computer Software (MS Paint, Photoshop, etc.)
If you have technical knowledge, you can resize a photo using basic software like MS Paint.
- In MS Paint:
- Open the photo in Paint.
- Click the ‘Resize’ option.
- Select ‘Pixels’ and enter a value of 200×200 (approximately) or as needed. Keep in mind, changing the background is a little tricky.
- In Adobe Photoshop:
- Open the photo in Photoshop.
- Select a 2×2-inch area with the ‘Crop Tool’.
- Go to the ‘Image Size’ option and set the resolution to 300 DPI.
- Use other tools to whiten the background.
However, this method can be a bit daunting for new users. Therefore, the best and simplest option is online tools.
Important things to keep in mind
Knowing just how to convert image to passport size is not enough; there are a few things to keep in mind for a perfect passport photo:
A light smile: A slight smile is permitted in most countries, but laughing openly is not considered appropriate.
Uniform Dress Code: Avoid wearing light-colored clothing as it will blend in with a white background. Dark-colored clothing is preferable.
Neutral Expression: Facial expressions should be normal and eyes should be directed directly at the camera.
No Filters: The photo should not have any filters or editing.
Conclusion :
Friends, we hope this article has resolved all your doubts. We’ve learned in detail how to convert a photo to passport size and answered all the questions related to it. In today’s digital age, making your photos suitable for official use from home is no longer a difficult task.
And the website picsizereducer.com can prove to be a great help in this task. Using its free tools, you can not only compress your image but also easily convert it to passport size. This will save you both time and money. So the next time you’re wondering how to convert a picture to passport size, just follow the easy steps in this article and get the job done in no time.
I hope this information proves useful. Best wishes.